Painting Pumpkin Tutorial
Hey! Today I’m sharing an easy painting pumpkin tutorial. We recently celebrated my daughter’s first birthday! I wanted to combine two themes: fall and feminine. Today I’m going to show you how I created beautiful pumpkins to use as decor. You’ll be able to create these in just A FEW SIMPLE STEPS. Enjoy!
To get started you will need to gather the following materials:
- Pumpkins of any size (I used real pumpkins, small in size
that I purchased from a local farm) - Acrylic Paint
- Foam paint Brush
- Glitter
- Sharpie Markers (optional for lettering)

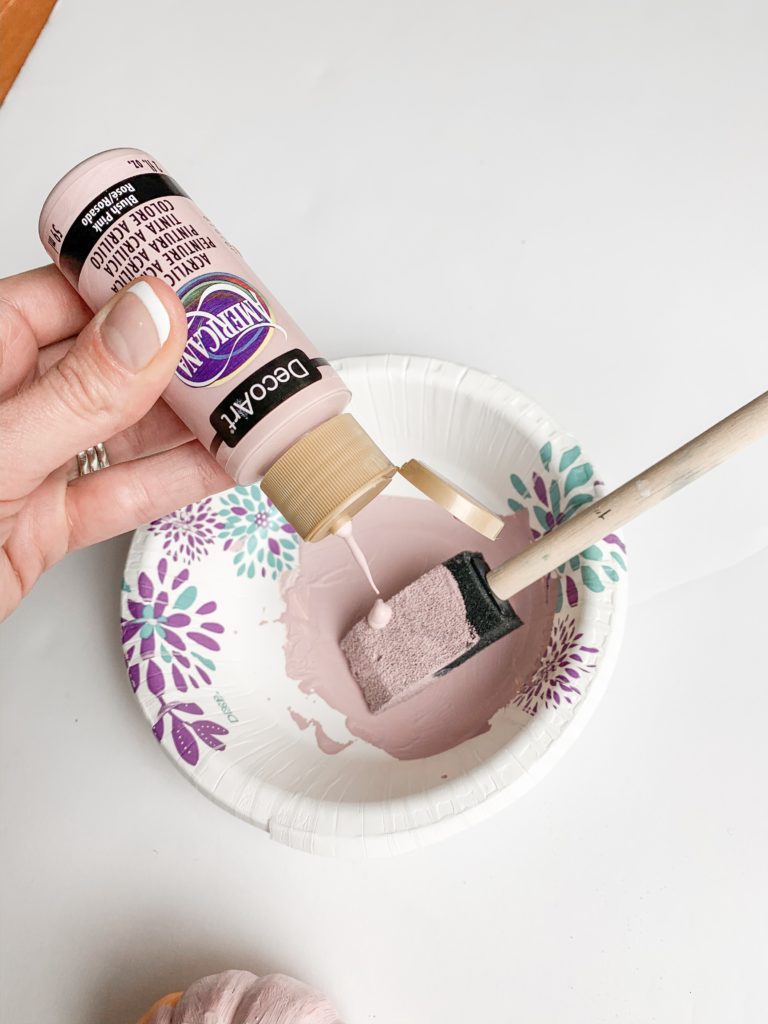
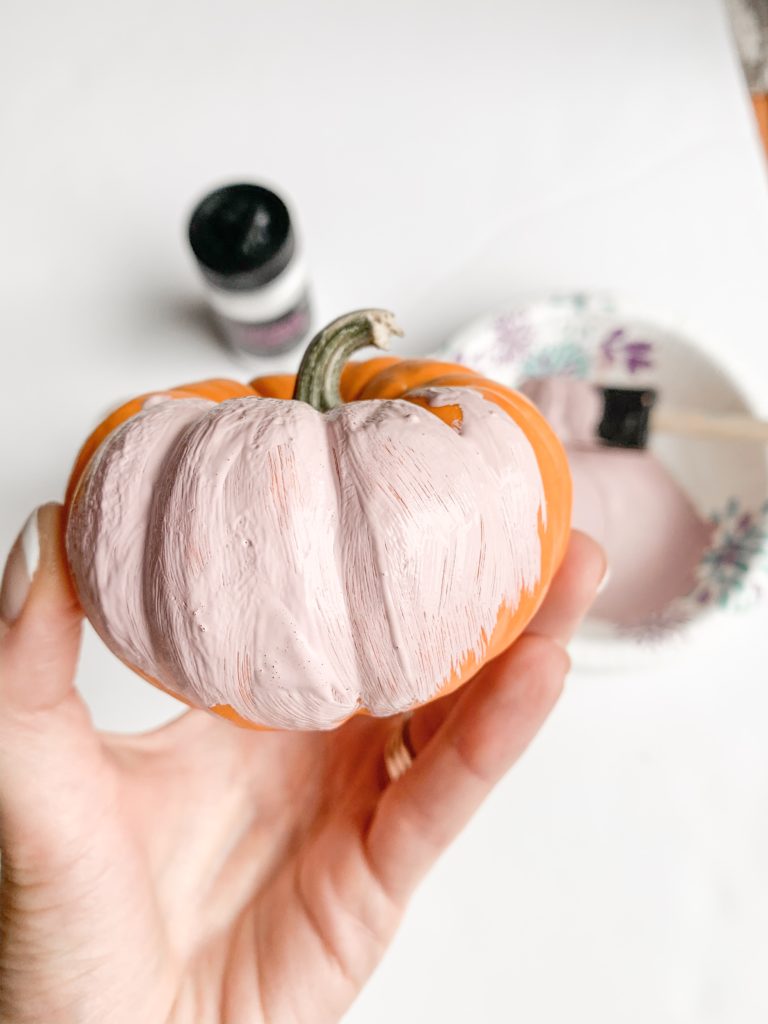
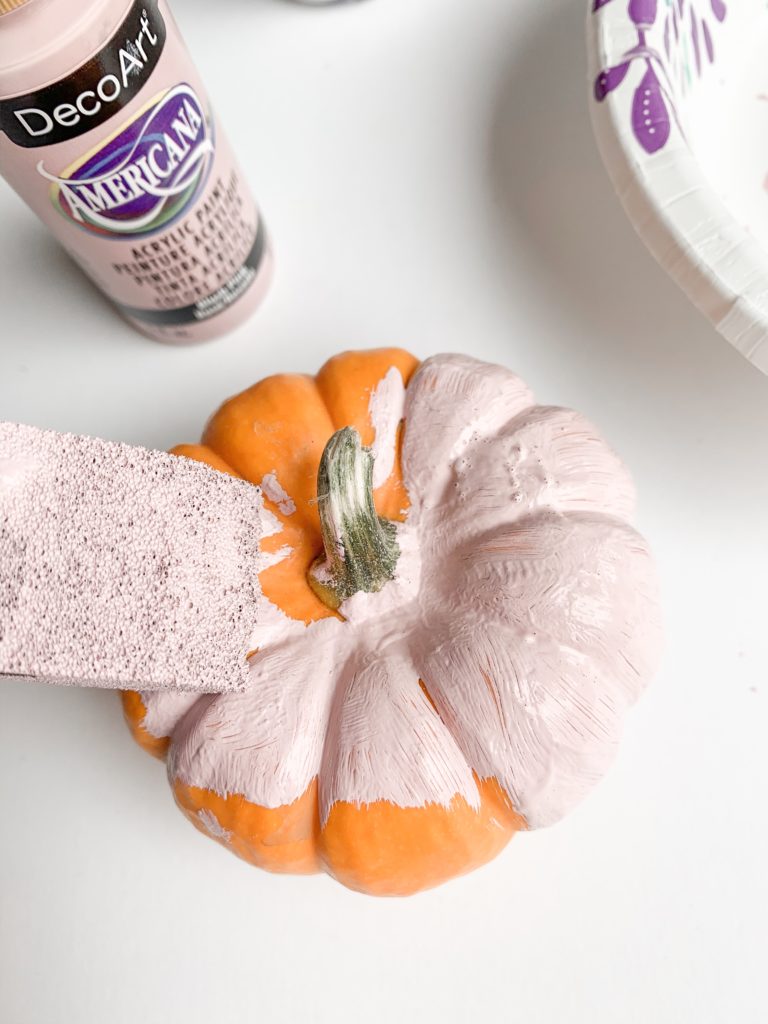
Step one: squeeze some paint into a paper bowl for easy cleanup. Using the foam brush, coat the entire pumpkin in paint. I used uniform downstrokes for an even look.
Step Two: while the paint is still wet, sprinkle glitter on top of the pumpkin. The glitter I used actually glows in the dark which is super fun!
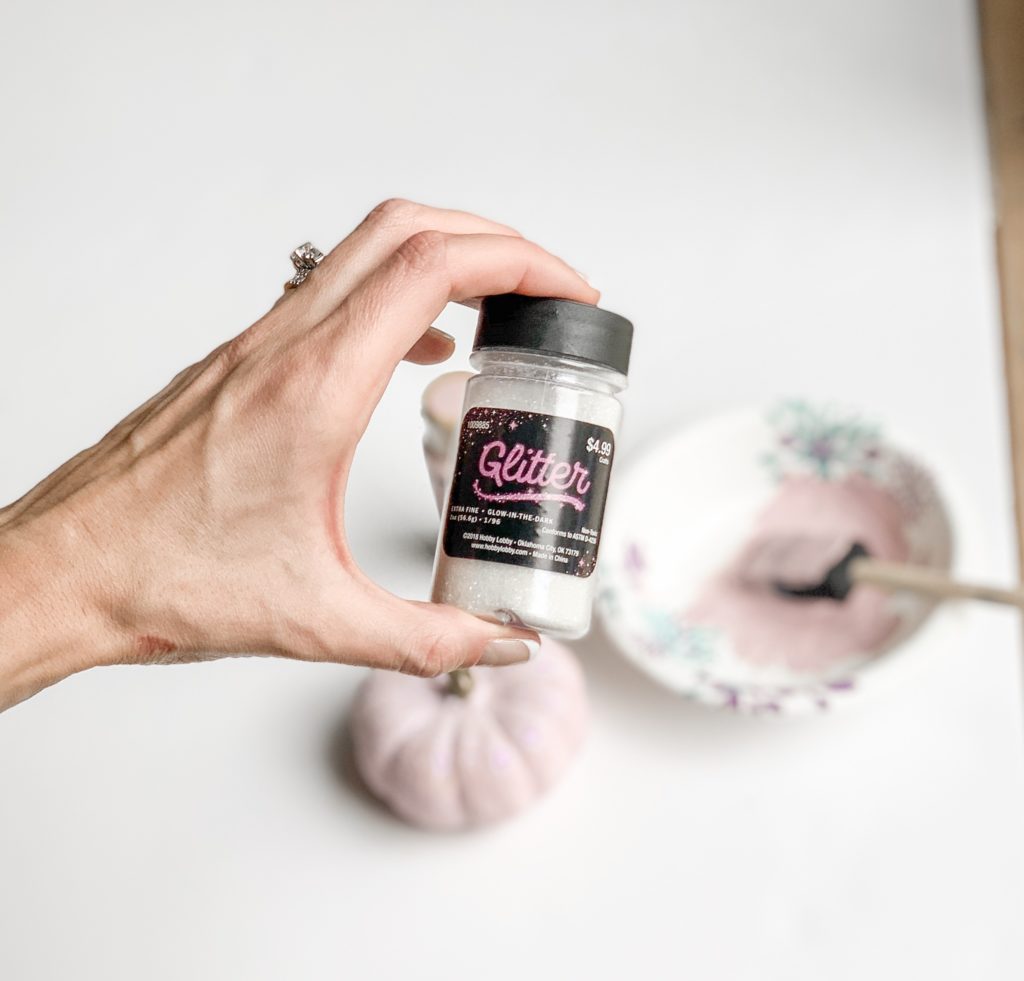
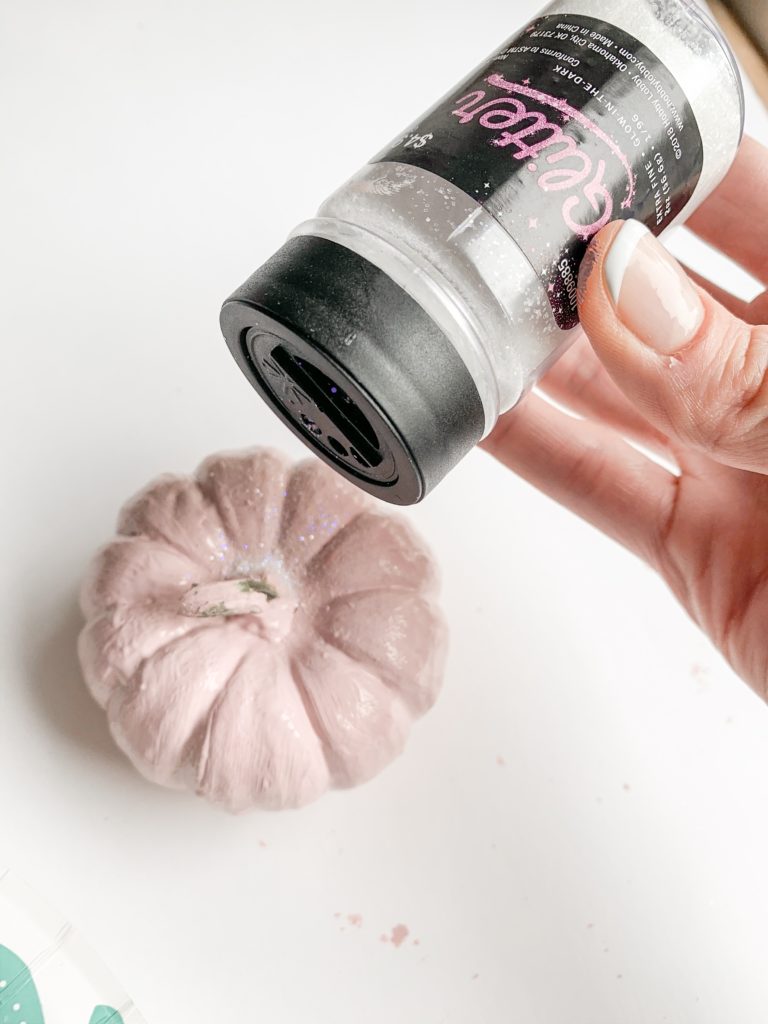
That’s it! How simple was that? You can also add your own lettering to create personalized pumpkins, perfect for any fall party! I would let the paint dry completely overnight. Then, take a regular sharpie marker and letter directly on the side of the pumpkins.

Want more?
Fun Ways to Practice Lettering
