Tripods for Filming Your Hand Lettering Videos
Today I am sharing what tripods I have used and currently use to film my hand lettering videos. These short videos are BY FAR my most popular content on my Instagram. People love them and I love filming them!
In this post, I will talk about each tripod. At the end, I will share a few things to keep in mind when filming your lettering. No matter where you are in your lettering journey I hope this will encourage and guide you in some sort of direction. Here we go!
As you probably know by now, hand lettering actually takes a VERY long time. Almost every video I post is sped up! I use a free app called Hyperlapse to film. I could write an entire post just on this topic alone… (hand-lettering is not handwriting!)
At first, filming hand-lettering videos seemed impossible. Why? Because I didn’t realize how difficult it was to get a good angle of the paper, pens and my hands. It had to be OVER everything without being in my way. Tricky.
I knew I needed SOMETHING and literally, this is what I used for the first few months:

Why yes, that is a selfie stick, stuffed into an old vase. The plastic bags are for support. If you have no budget for purchasing a tripod then you can easily make something like this with the things in your own home. Honestly, it worked REALLY well for me. And the best part was that it was free! You can even balance your phone in a martini glass, use pencils to prop up your phone in a mason jar. Get creative and share your ideas with your followers!
Other great budget-friendly options:
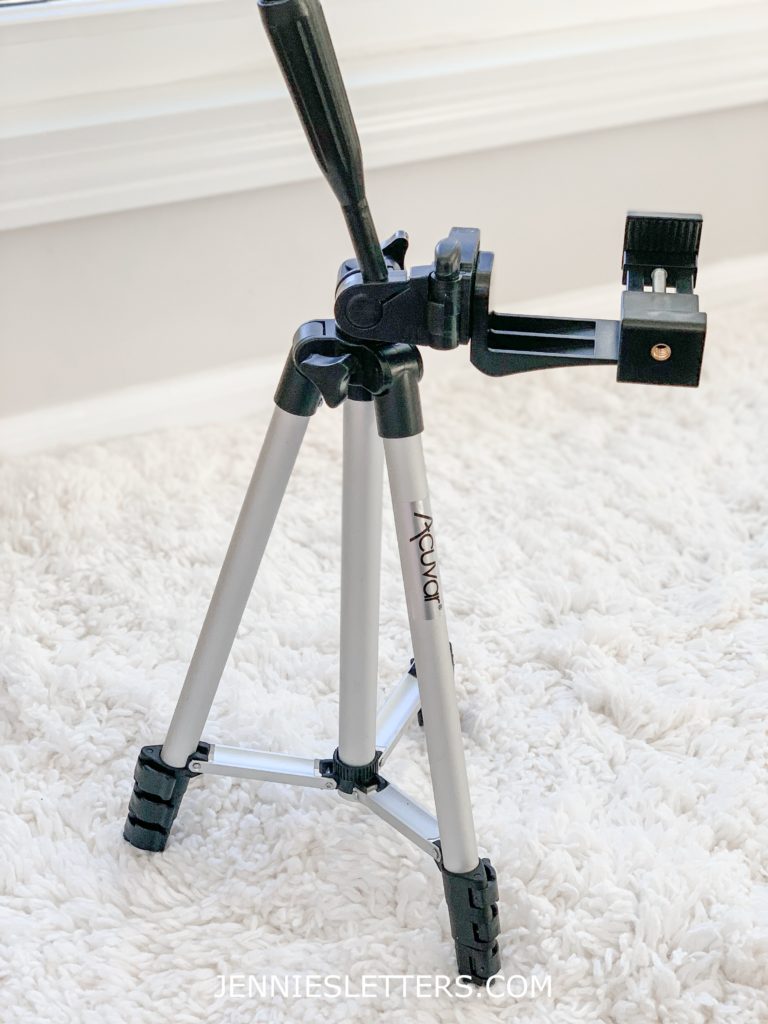
After I got a new phone, the selfie stick/plastic bag/vase creation wasn’t working for me anymore. I received this (another budget-friendly) tripod for Christmas and it worked pretty well! I was able to get a much bigger view of my desk space.
However, I ran into a few problems: My phone is super heavy so the weight sometimes caused the tripod to tip over. And it couldn’t give me every possible angle I was trying to achieve. However, it did come with a Bluetooth remote. This was a GAME CHANGER for me because I didn’t need to worry about carefully touching my screen to begin filming. I could begin with the click of a button- awesome!
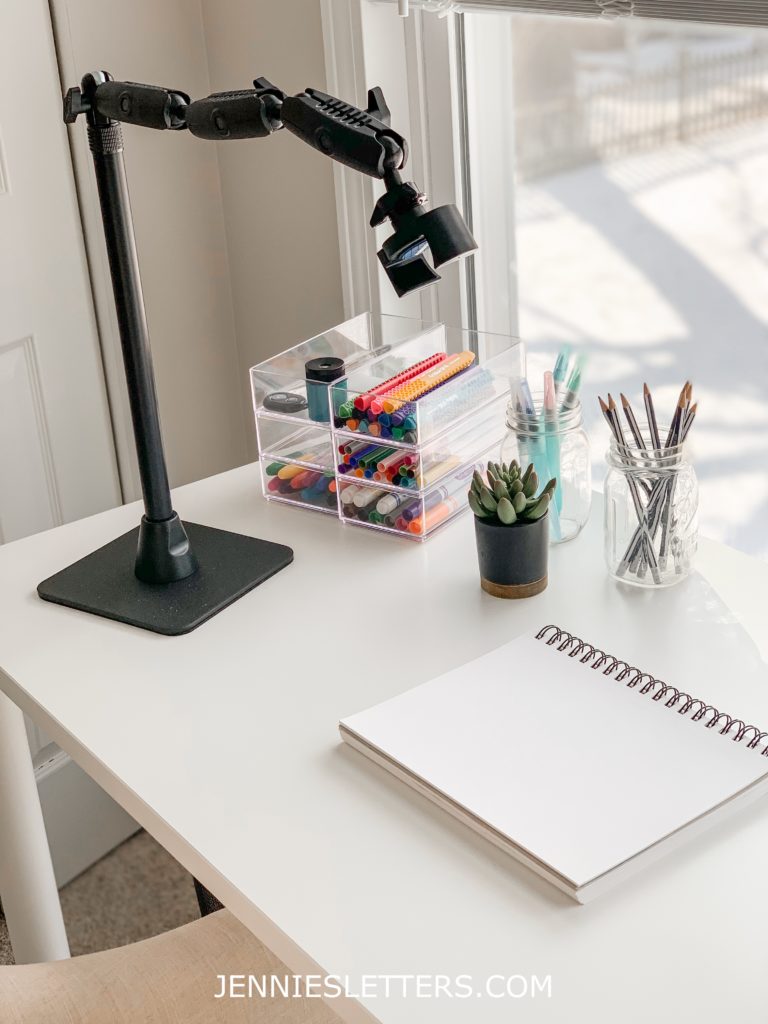
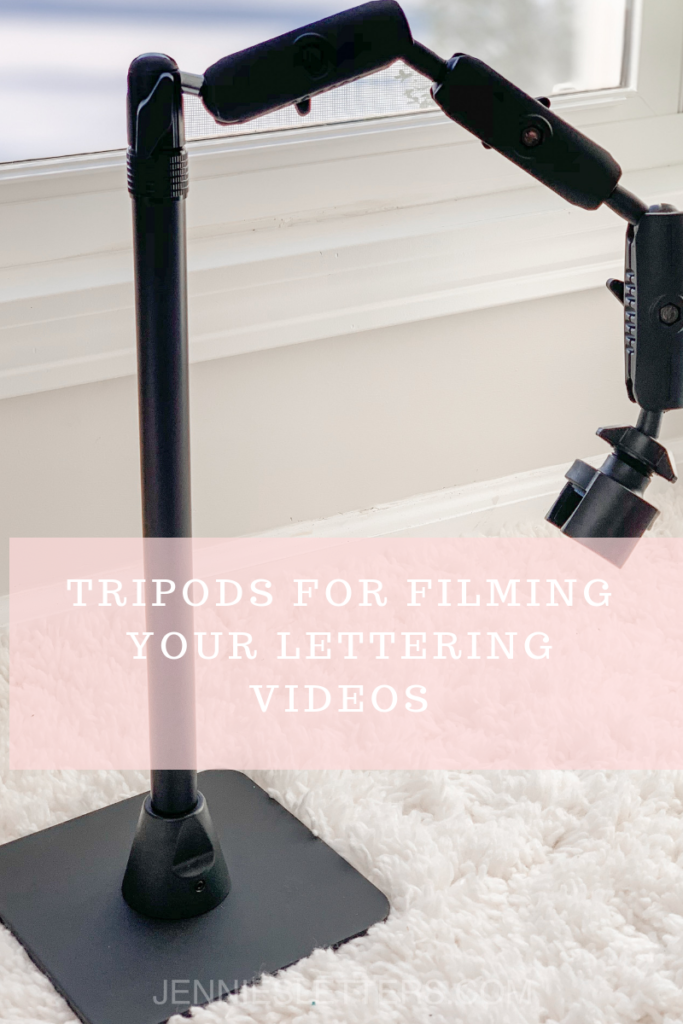
After a lot of research and reading lots of reviews, I have finally found the tripod of my hand lettering dreams. This one is a super heavy duty tripod. You can manipulate it every which way and I have no problems with it. It works with any phone. The only set back is the price. It’s steep. But If you are going to be filming your art on a consistent basis then I suggest purchasing this. You won’t be disappointed. No matter what phone you have now (or in the future) you will still be able to use this!
Quick Tips for Filming Hand Lettering Videos!
- Focus on the lighting! I always film during the day in front of a window. This gives me the best lighting -for free! I turn off any lamps or overhead lights in the room (mixed lighting is yuck).
- Film your video in Hyperlapse for Instagram.
- Always edit them! I use a free app called A Color Story.
- Try different angles to get a good view of your hands.
What do you use to film? Comment below and don’t forget to share! And as always you can find me on Instagram so I can see all of your amazing creations!
