Tutorial -Easy Watercolor Background for Hand Lettering
Brush pens are good for more than just lettering!
Today I’m going to show you how to use your pens to create a beautiful watercolor background! This is the perfect custom backdrop for your lettering. Each time it turns out unique and wonderful! I create these all the time when I am looking for the perfect place to showcase my hand-lettering. Let’s get started…
Materials Needed:
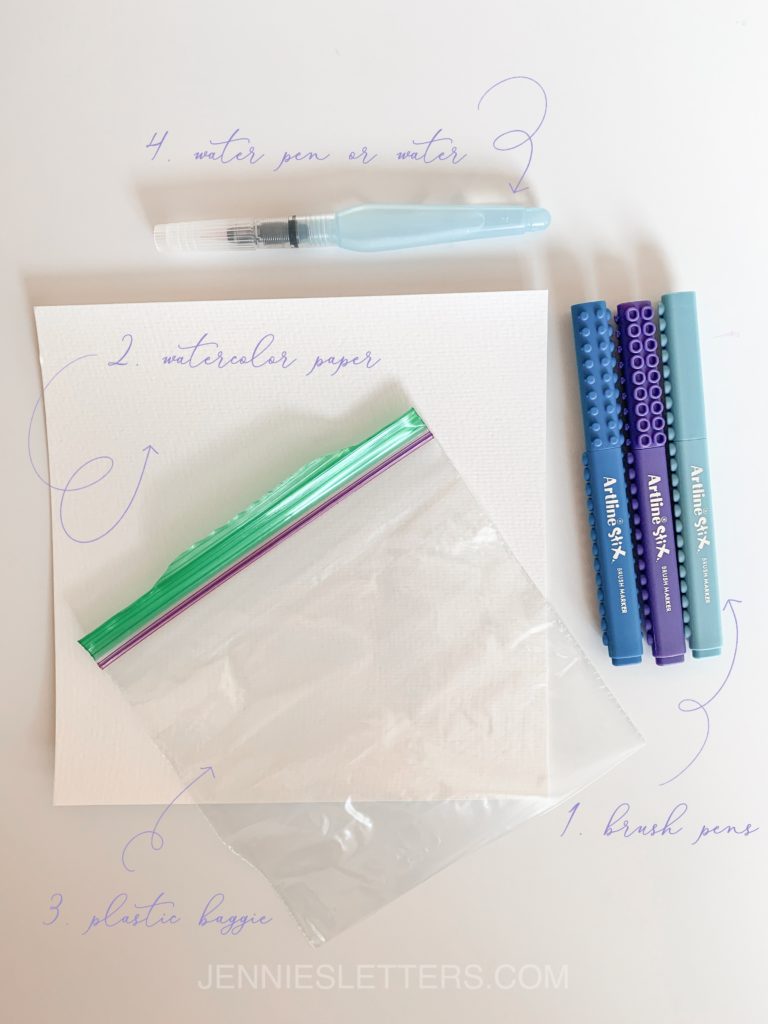
- Water-based brush pens or markers. Click here to check out my favorite pens. (Sharpies are not waterbased but pretty much everything else is!) In this tutorial, I will be using Artline Stix by Tyi.
- Watercolor Paper- A few of my favorites are here and here.
- A small plastic baggie- yes, you read that correctly. Any size will work depending on the size of your paper. For a larger background, use a gallon size. In this tutorial, I used a sandwich size bag.
- Water- to be honest, you can just fill up a small cup and sprinkle the water with your fingers. However, if you want a more controlled color spread then us a water brush for squeezing small water droplets onto the paper. If you haven’t tried water brushes yet and are interested…I would grab this set of water brushes. They are super fun and wonderful for blending. I will be using one in this tutorial.
Steps:
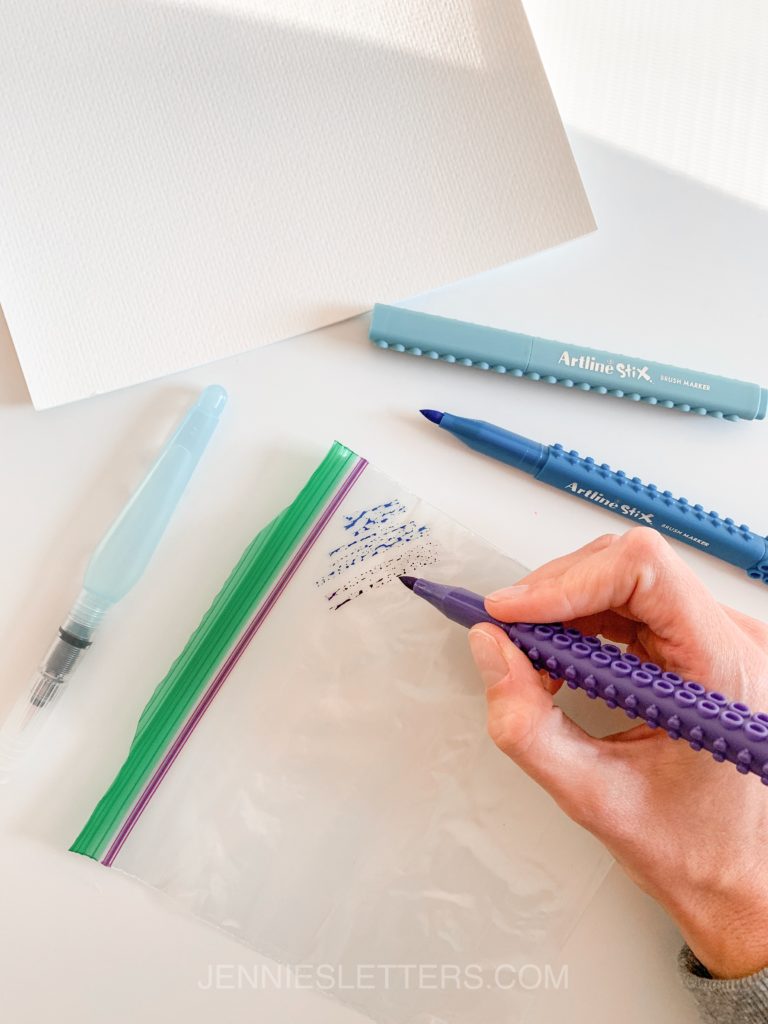
First, choose some colors. I prefer them to complement each other (warm tones like yellows and reds) or cool tones like blues and greens). For this example, I am using blues and purples. Using the water-based markers, deposit your colors directly on the plastic baggie. Place baggie to the side.
Next, using a water brush pen (or your fingers or a spray bottle), gently sprinkle the water directly on the plain watercolor paper. The water will bead up. If you want a uniformed blend, then carefully place your water droplets down. If you are going for more of a free-formed look, then the water placement doesn’t really matter too much.
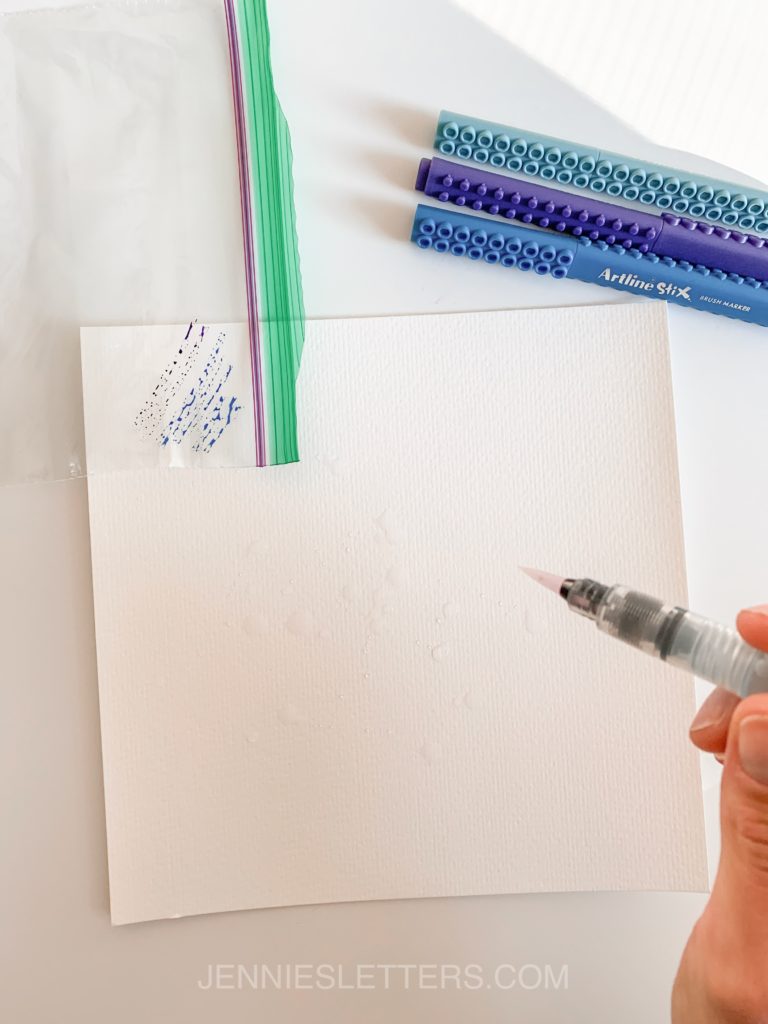
Carefully pick up your colored plastic baggie, and place (colored side down) on top of the wet watercolor paper. You will start to see the watercolor being created. This is where you can move the plastic baggie around to your liking. It’s your art! There is no right or wrong way to create a color blend that you like.
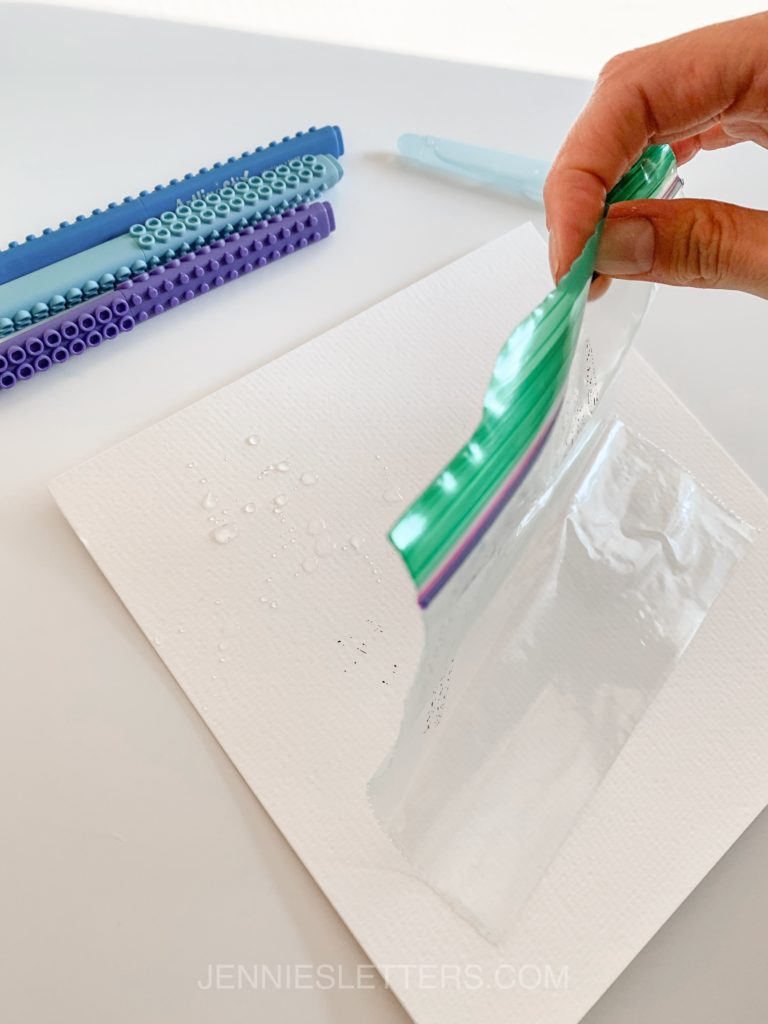
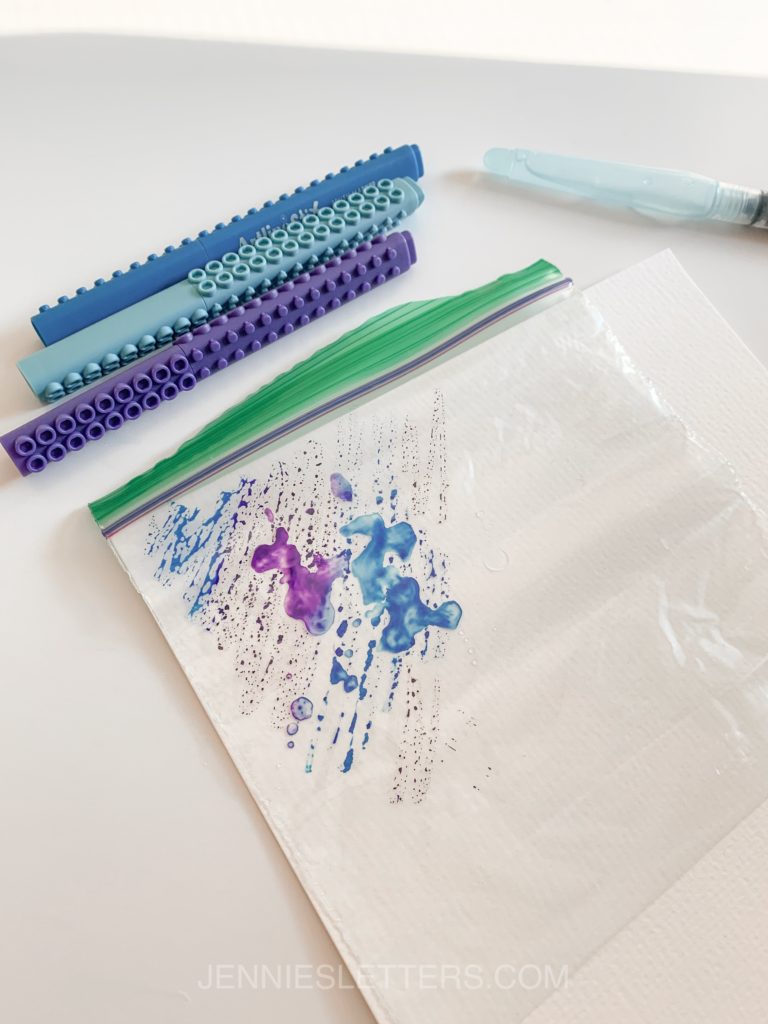
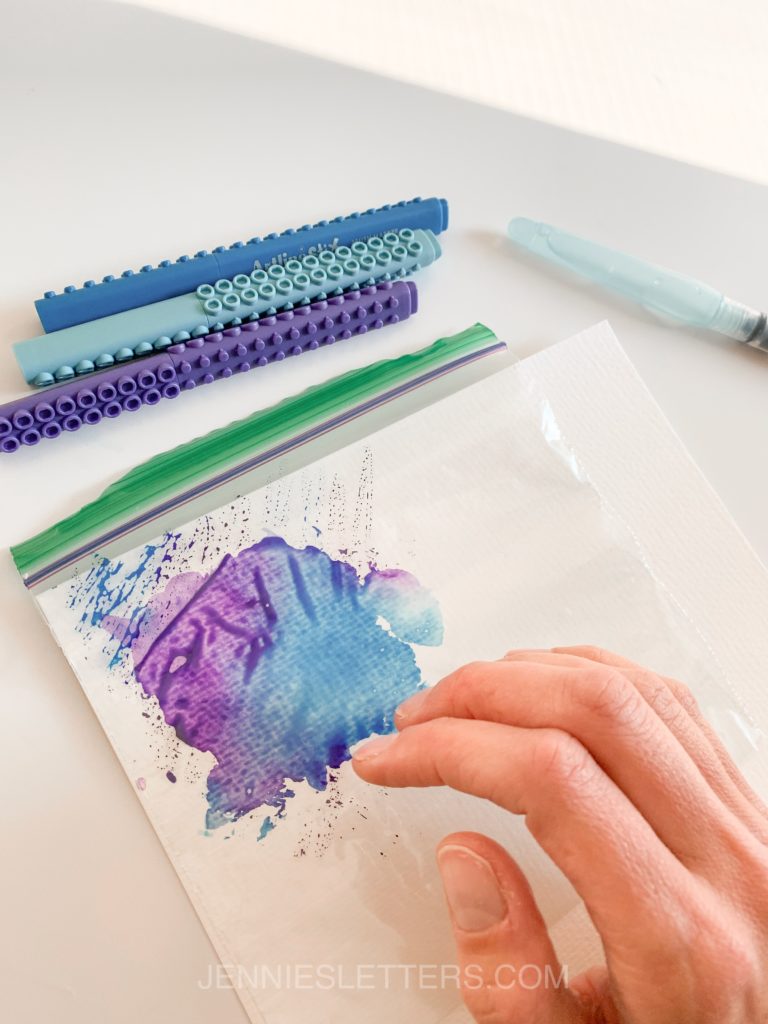
After that, lift up the baggie, discard (or wipe clean for another use) and let the watercolor paper dry. Sometimes if I have too much water, I try to dab with a paper towel or napkin although this is unnecessary.
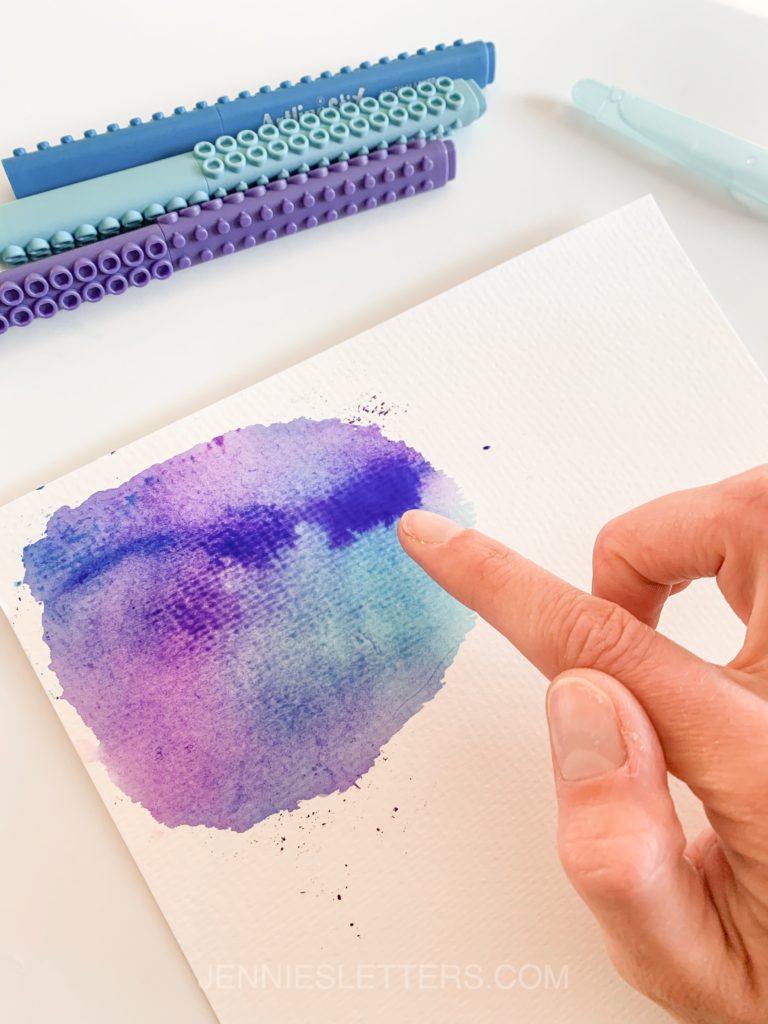
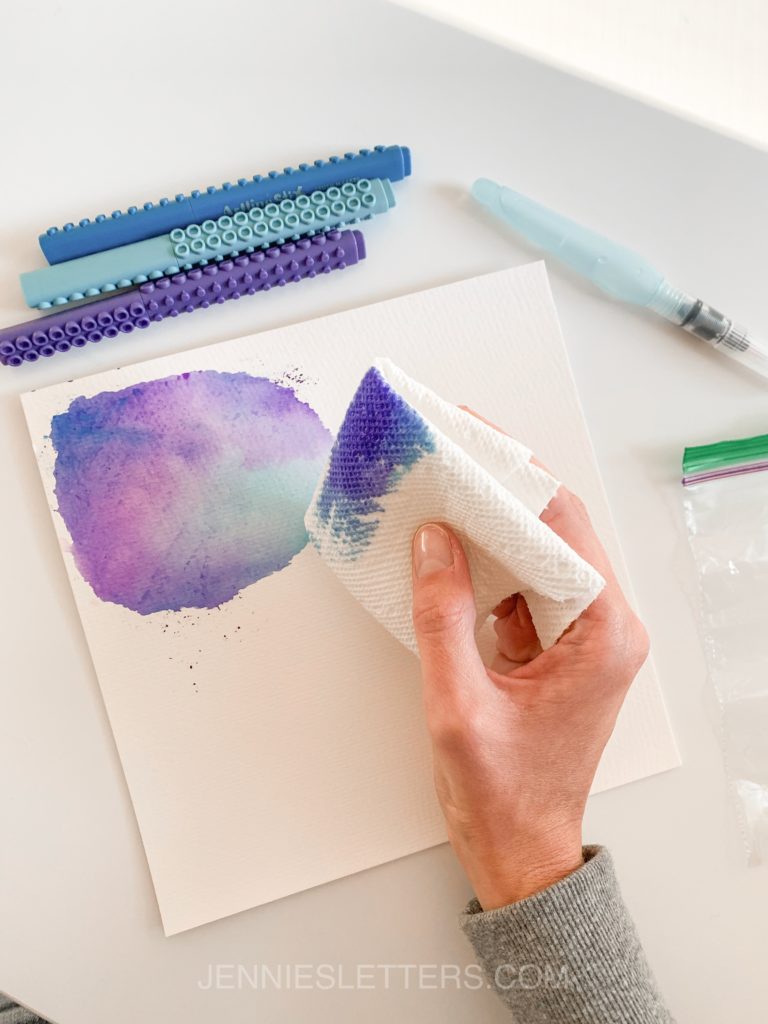
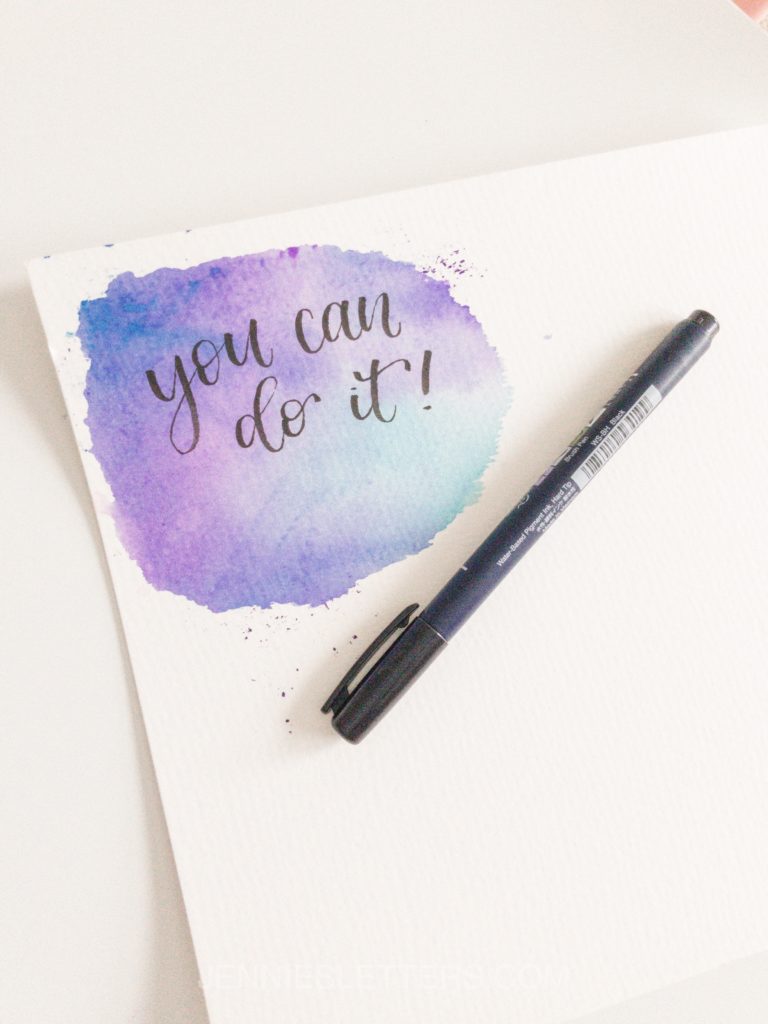
After the background has completely dried you are now ready to letter on it. That’s it! Easy peasy! Please let me know if you try this technique and let me see all your beautiful creations! Have fun!
Want more?
Fun Ways to Practice Lettering
